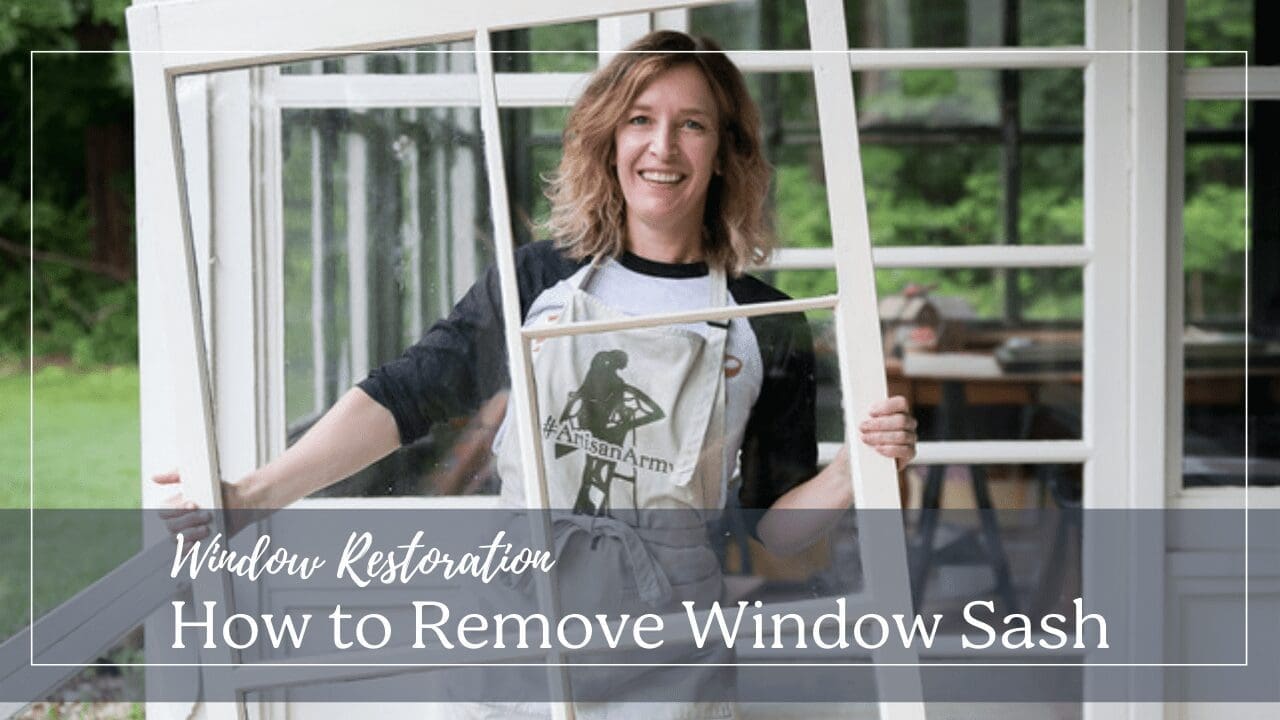
In this week’s video, as part of Hot Sash Window Summer, I’ll show you how to remove window sash for restoration and repair.
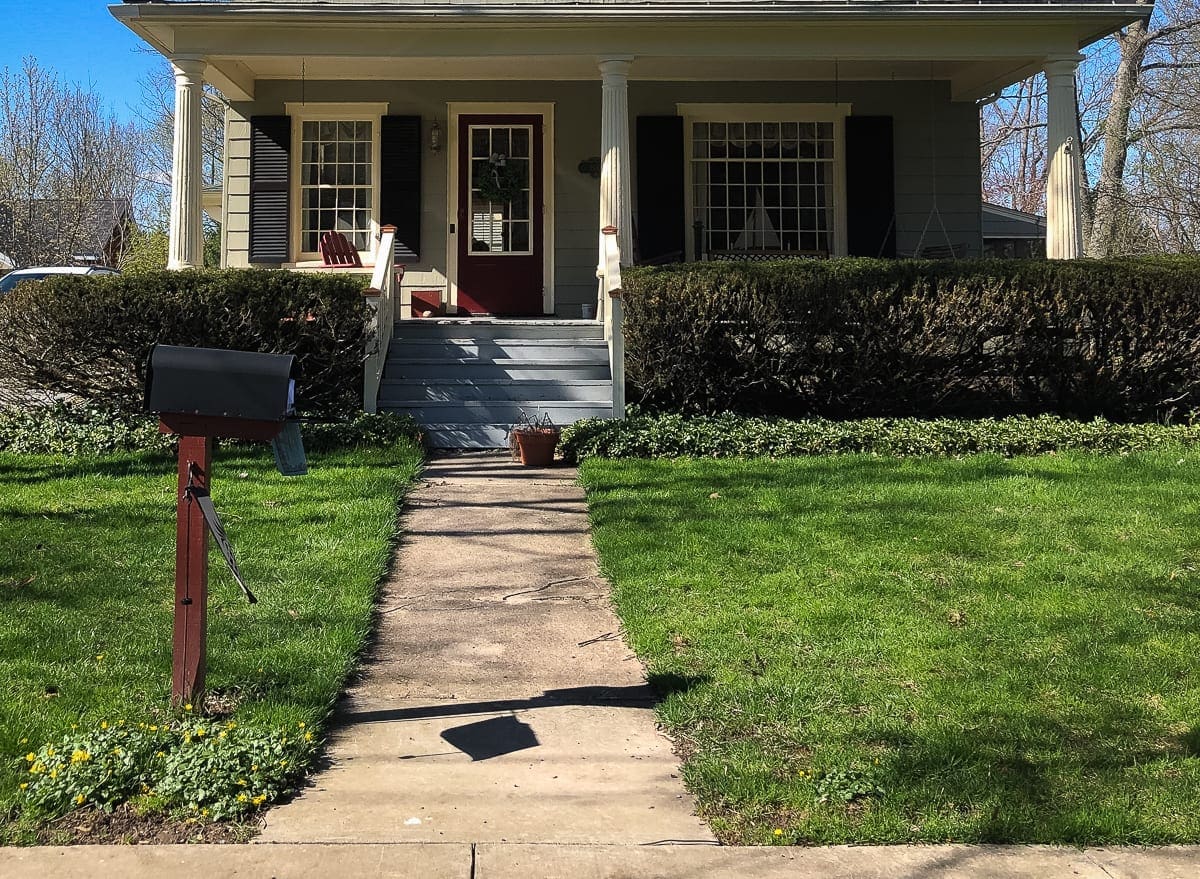
Whenever I teach someone about how old double-hung wood windows work, one thing that often blows their mind is that the upper sash used to function. Pre-air conditioning, the upper sash came down and the lower went up. Cool air came in through the bottom opening and warm air escaped out the top. It was a low-tech solution to hot summer weather.
However, once modern storm windows with integrated screens became common, the function of the upper sash was lost since many storms didn’t operate the same way as the double-hung windows they were protecting. Homeowners also began to add ductwork and a/c, especially in regions with months of hot and humid weather. Windows stayed closed more often than not. As long as the lower sash could be opened in an emergency, it seemed unimportant that the painters were a little (lot) sloppy and the upper sash got stuck.
In the 1970s, the energy crisis caused a huge mind shift, and to prevent air loss and reduce fossil fuel dependence, many people caulked and painted the upper sash shut on purpose. Once that crisis passed, big oil apologized, and we understood that using less of everything was the key to our survival…oh wait, nevermind–wrong story. Anyway, once that crisis passed, most upper sash remained in its modified and frozen state until present day.

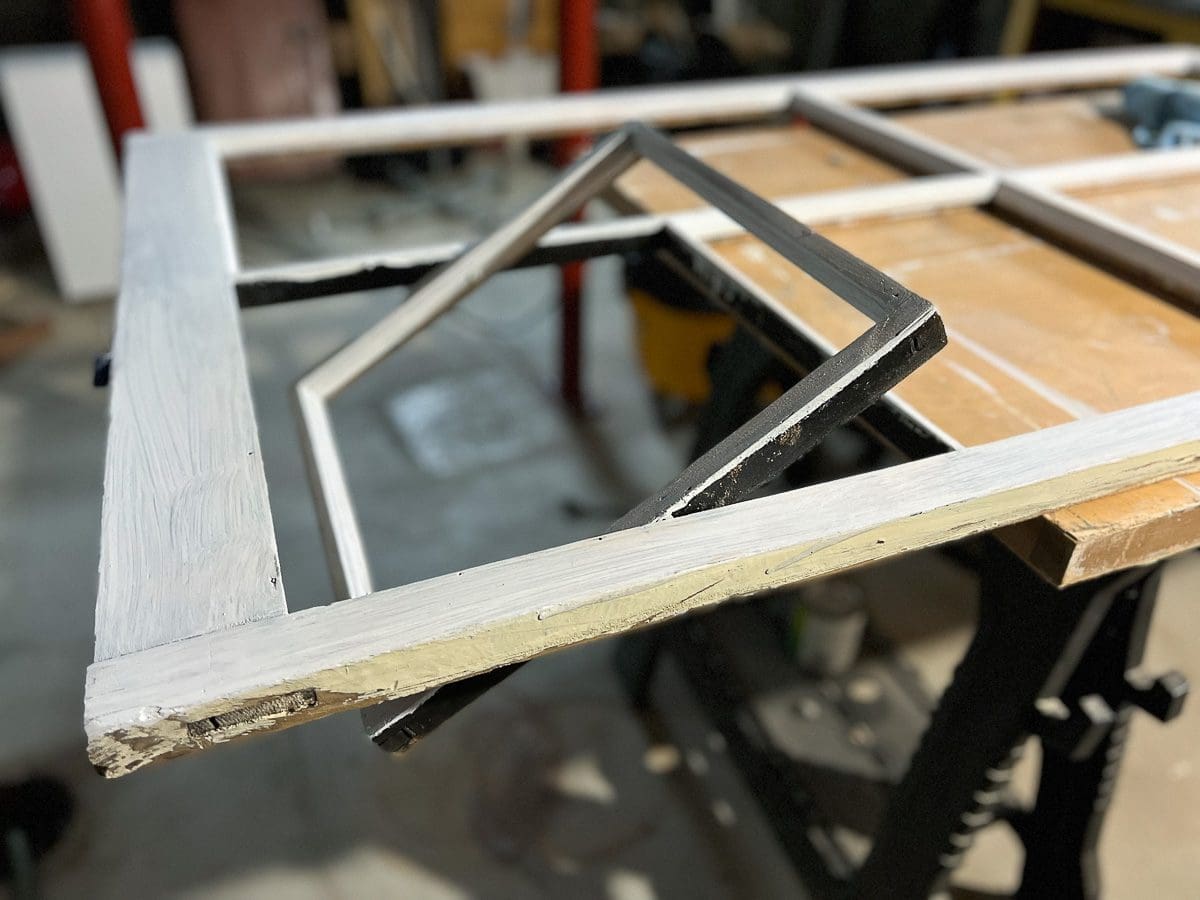
Now that many of us have inherited a boatload of deferred window maintenance, it’s our job to pull the windows out for a full restoration. Although I find that each window removal requires a little creative problem-solving, the basic task is straightforward, and as always patience and time will be your most useful tools.
How to Remove Window Sash – Video
Tools
In the video, I used the following tools:
- Hammer
- Utility Knife
- Hive Tool (You may substitute a rigid putty knife.)
- Sheet Metal Pliers (sometimes called duck-billed pliers)
- Screwdriver with a slotted screw bit
- HEPA shop vac (not shown)
- Spray bottle full of plain water
Safety Gear
- P100 Respirator
- Safety Glasses
- Gloves
For a complete list of products and tools that I use for DIY window restoration, please read this companion blog article: My Favorite Tools for Window Restoration
#HotSashWindowSummer Schedule
In case you missed it, Here’s a copy of the entire 12-week schedule:

I have some supplementary content in the works. So, I may be adding to the schedule in the coming weeks.
Just a reminder: Most of this content is free, but if you become a Patreon Subscriber, there will be some special stuff just for you, including exclusive video content, printables, and more personalized help at the $5/month level. You’ll get all of that at the $10/month level plus a free 20-minute virtual window restoration help session (via Zoom).
Note: Outside of Patreon, you can hire me for stand-alone virtual help sessions.
If you have any questions, I’m here for you.