This post may contain affiliate links. Please see our full Disclosure Policy for details.
Learn how to make a clay mushroom candle holder with easy instructions and tutorial for beginners using air dry clay and acrylic paints for crafts.
Some of the simplest projects are so satisfying and great ideas for decoration. Easy Crafts To Do When Bored At Home like working with clay or using craft kits for adults can introduce you to new hobbies.
How to Make Clay Mushroom?
This clay magic mushroom is small and adorable. Place a gel tealight in it and enjoy the forest fun come to life in your indoor garden, kitchen, or any space. To make this simple craft you will need:
Materials:
- Air dry clay – Tip: Place air dry clay in a airtight plastic bag and vacuum out any air that is manually possible. Compress it and place in an airtight jar for double insulation. This way your clay will stay fresh for future projects for months.
- Blade tools
- Sculpting tool set for beginners (optional)
- Basic paintbrushes
- Nail file
- Acrylic paints
- Fine tip paintbrushes
- Painting acrylic palette
- Mod podge
- Jar filled with water
- Tealight candles
- Wax paper
Instructions:
Follow the instructions in the video to mold and shape the mushroom. You can make clay mushroom in various shapes and ideas using this tutorial.
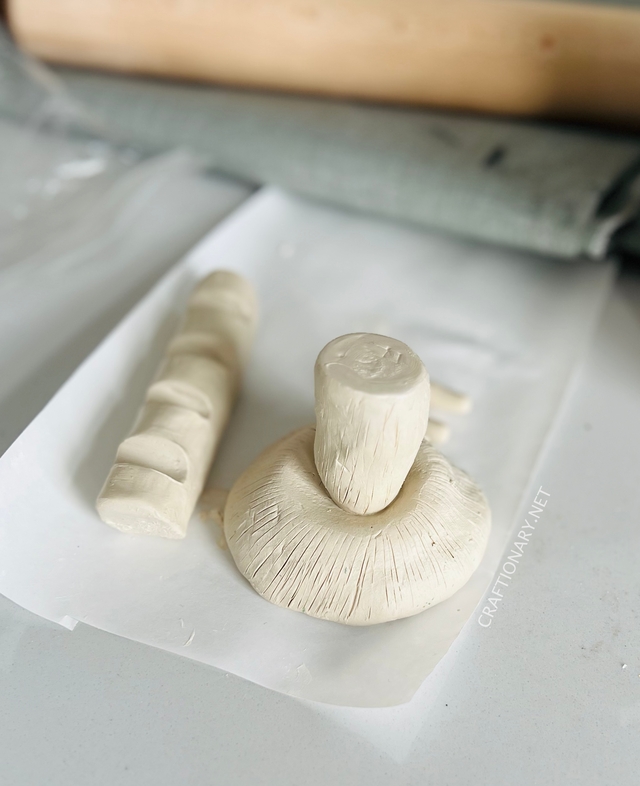
Make mushroom stem:
- Form a round and shape it into an elongated thick piece that resembles mushroom stalk. Tap it on a flat surface to make the top and end flat. Test that the mushroom stem can stand on its own. This step is important to ensure the base of our mushroom is proper.
- With a wet basic paintbrush smooth out any cracks and imperfections.
- Use a blade to make irregular straight lines or follow a real mushroom image to give it that natural texture.
- Allow it to dry.
Make mushroom cap:
- Use the stem as your measurement and make a mushroom cap. Take clay and form a large round by rolling it in your hands like a ball.
- Fresh and sandwich between your hands to flatten it into a mushroom shape.
- Make sure it is thick enough to accommodate a tealight candle.
- Place the candle at the center and push it in to make a hollow space that is enough to hold a basic tealight.
- Do not worry about the cracks at this point.
- Now remove the tealight. Shape it such that it maintains an umbrella shape like a mushroom from all sides. Don’t worry about some basic imperfections as it will make the mushroom look more natural.
- With a wet paint brush smooth out any cracks and imperfections. Use water to wet the brush as needed.
- Use a blade to make fine lines that resembles gills or teeth of mushroom at the bottom while keeping the edges smooth.
- Wet the center and stem to stick the two parts together. Put the tealight back in place.
- Now carefully place it on piece of wax paper upside down with the stem on top of the mushroom cap. Let it dry for about 2 hours.
- To allow the mushroom to have a round shape it is important to keep it in that possible to dry. I used plastic cups and pencils to keep the sculpture such that it has support at the center where the tealight is while the sides can bend a little due to gravity. It is important to give support otherwise your sculpture will break apart. Watch the video for this crucial step.
- Let it dry for 24 hours.
Painting clay mushroom:
- You will need red, brown, and white acrylic paints for this project.
- Make a light brown color to paint the stem and bottom part of the mushroom.
- Now paint the top of the mushroom with red acrylic paint.
- Use a fine tip paintbrush to make white dots.
- Let it dry for 15-20 minutes.
- Now use an even coat of mod podge to seal the clay mushroom. I am using gloss mod podge to give it a shine. Apply two coats for better coverage.
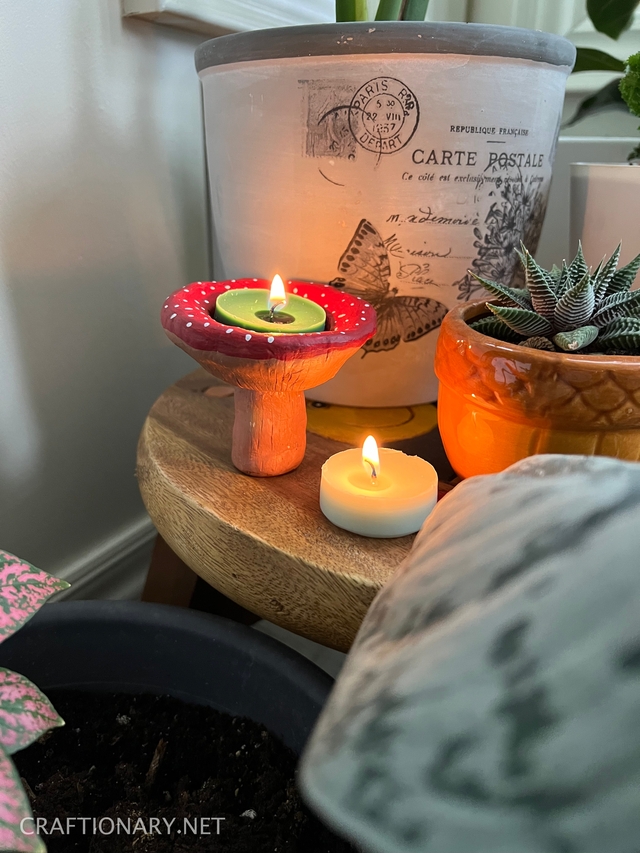
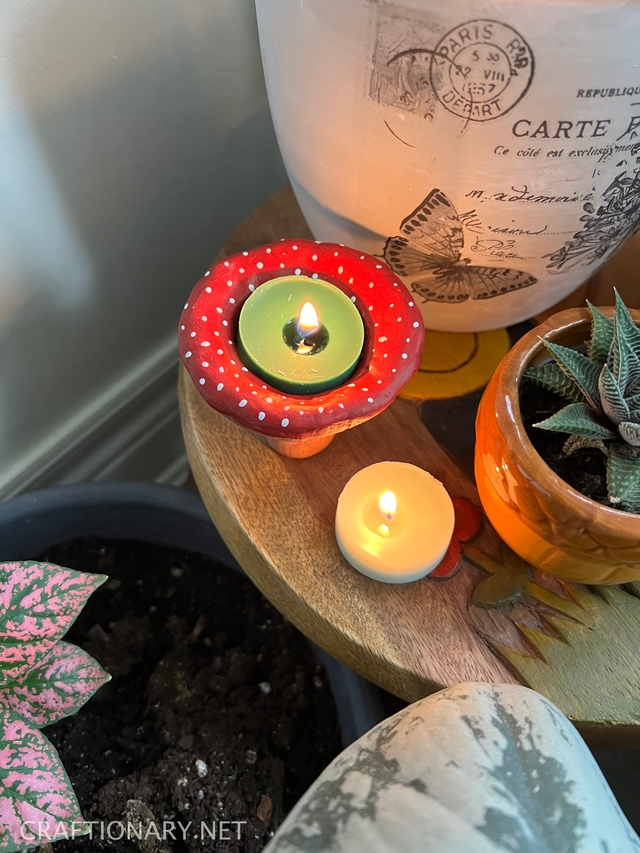
Your clay mushroom is ready to bring forest magic in your home. Place a tealight and let it glow.
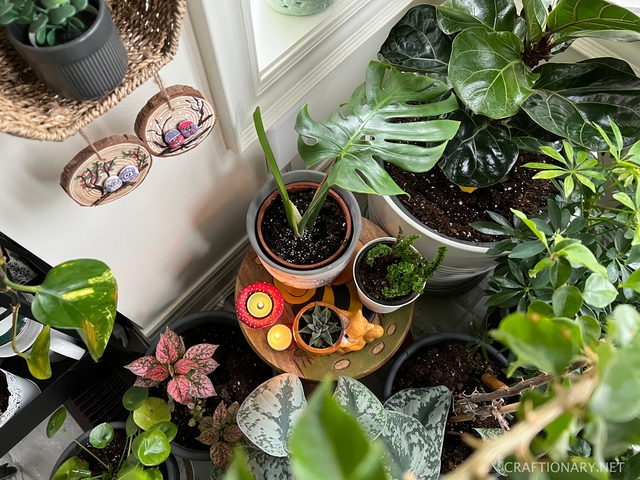
I also shared a tutorial for rock painting wood slices hanging in this garden earlier.

You will also like: