This post may contain affiliate links. Please see our full Disclosure Policy for details.
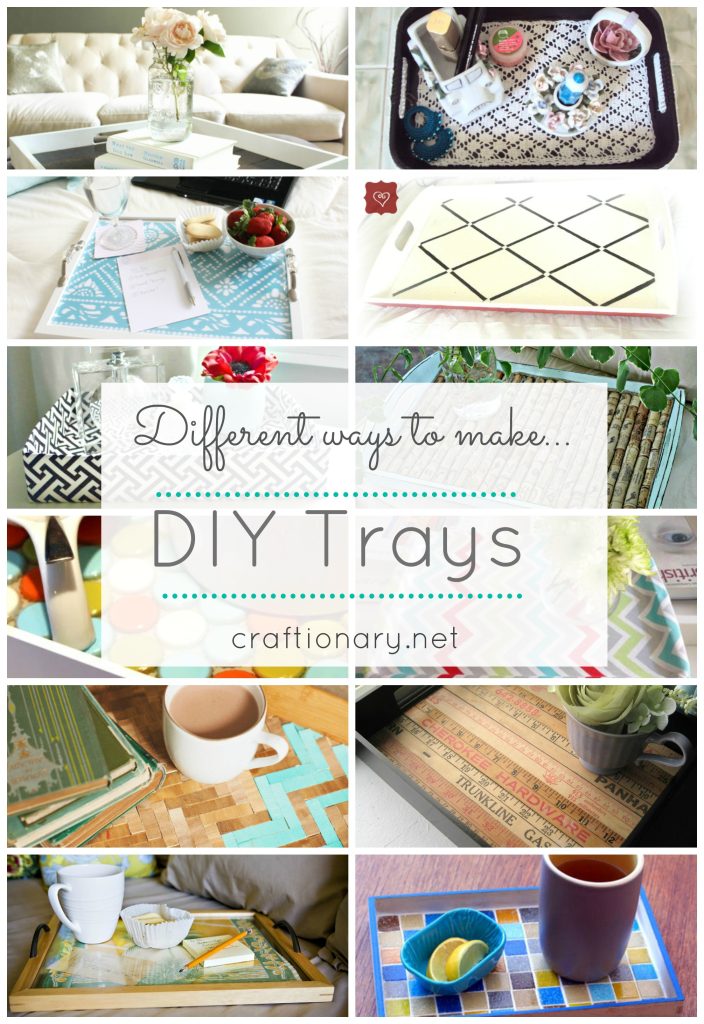
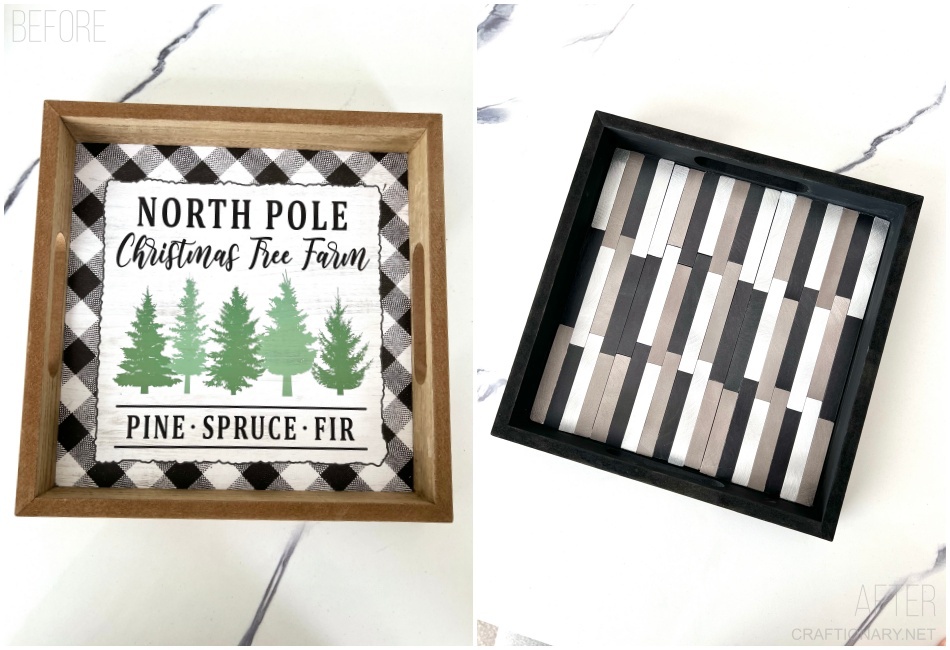
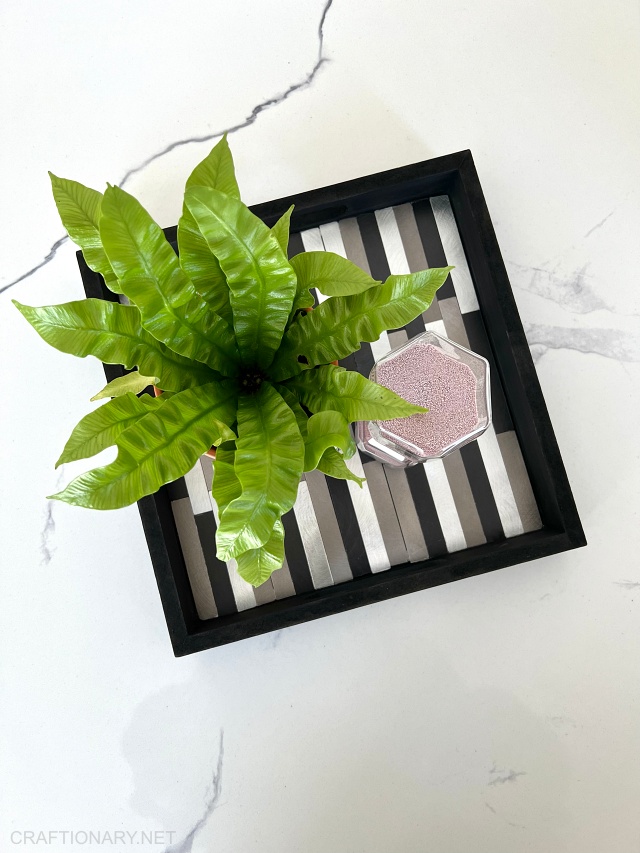
DIY Backsplash tile tray that looks expensive
A while ago I went to the dollarama and saw these peel and stick tiles (aka self adhesive tiles). It instantly caught my eye because it looked so luxurious and expensive but were not my choice for sticking to the wall at all!
So, I thought of making a wooden backsplash tile tray that looks expensive. This is a quick project with great results!
Let me show you the process and final result in 5 minute crafts.
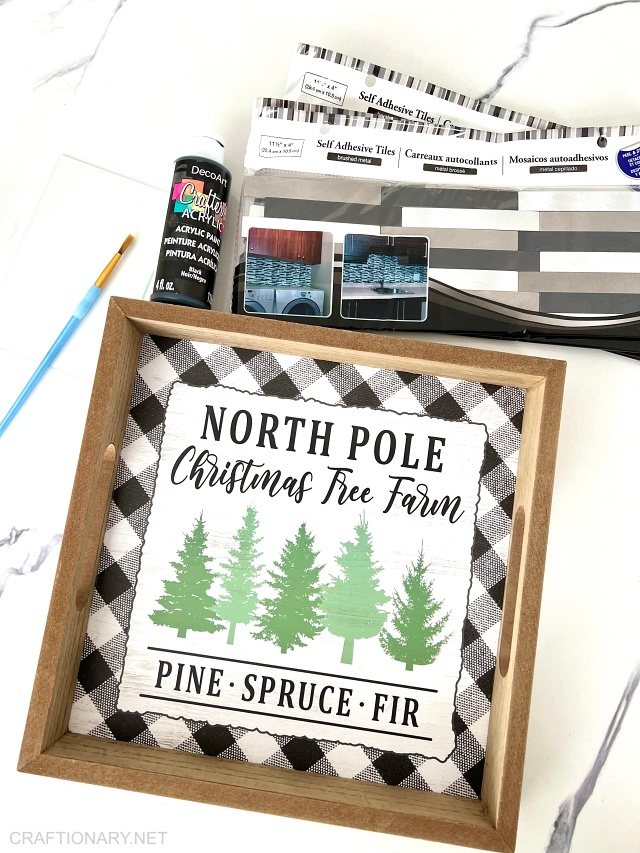
Material needed to make tile tray
- Self adhesive backsplash tiles
- Wooden tray
- Acrylic paint
- Paint brush
- Painter’s tape
- Air dry clay
Self adhesive tiles
Self adhesive tiles are available in a variety of designs and quality depending on the project. You can find them at home depot, lowes, walmart and even dollar stores like dollar tree. For tile tray crafts and other decorating home projects the plastic tiles with brushed metallics is a great choice because it gives faux luxurious effect for low price. If you go with glass tiles they are challenging to cut to size for a small project like tile tray.
Self adhesive wall tiles are ideally sold for kitchen backsplash but I find it more useful in decoration projects. Let’s get to the step by step tutorial to make black square wooden tile tray.
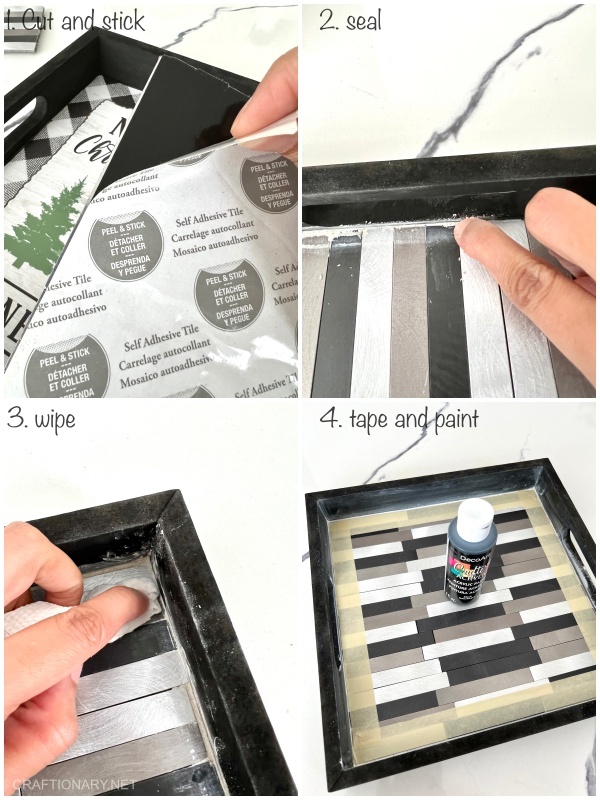
Instructions to make backsplash tile tray
- Start of by brushing and removing any dust or dirt from the wooden tray
- Now with the help of the paint brush cover the sides of the tray with black acrylic paint. You can choose any color you like but for the brushed metal tile choice I went with black and bold sides.
- Now measure the width of your tray and tile to ensure it fits perfectly!
- In my case, the tiles were just a little larger than the width of the tray! So, I used a pencil to mark my sides and scored the sides with a blade. Then I just applied a little pressure on the edge away from the tile in downward direction and the part tucked and broke apart.
- You can also cut it with a sharp scissors easily! But the blade marking cuts it more neatly!
- Next I just peel the sticker backing and place it carefully on the tray base. Make sure to slowly place it. Once it sticks, it becomes harder to remove and realign.
- For more neat and professional touch, I used air dry clay to seal the ends and scored it smooth with my finger tip.
- As an additional step, I sanded the side of the tray to make it smooth before repainting. (Optional)
- I then used painter’s tape to cover the tiles and gave a second paint application. This will ensure a better painted side, remove any clay marks and conceal the clay black as well!
That’s about it!
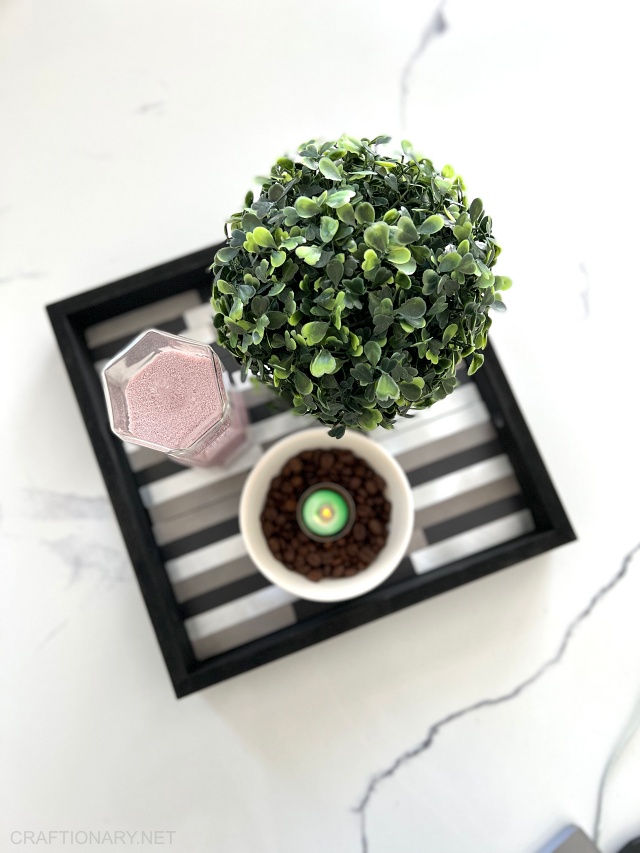
How to use wooden serving tray
The decorative wooden serving tile tray with handles can be used in many ways. Since, it can easily be wiped off with a damp cloth for reusing. The sealing clay makes sure no residue is stuck in the corners and keeps it clean. Here are some uses for the tray:
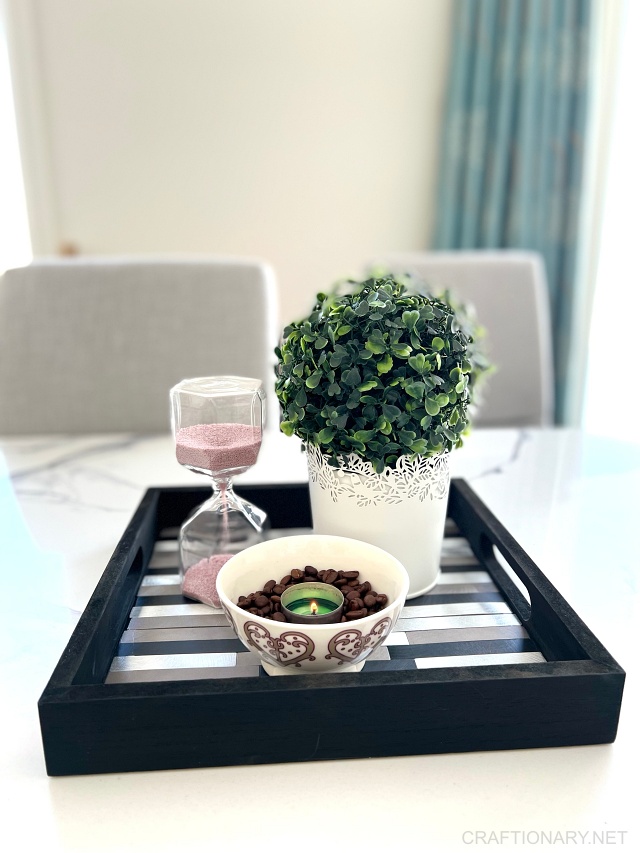
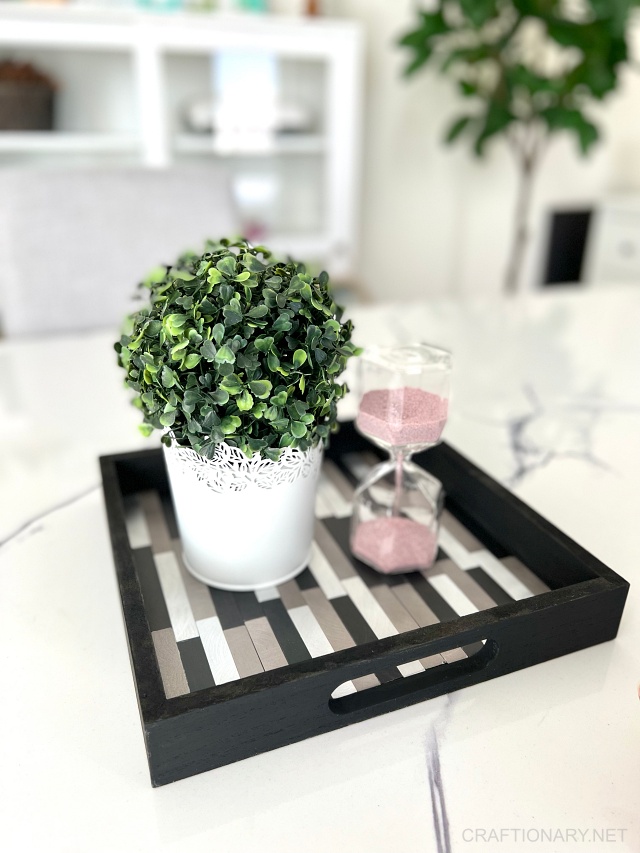
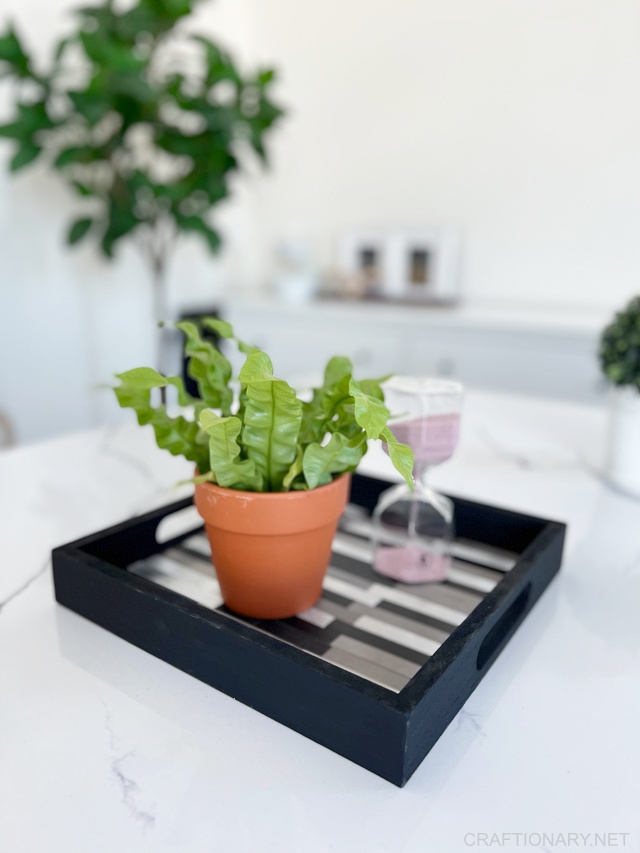
- Use it as a centerpiece tray for dining table with greenery and candles
- Keep it on breakfast table with morning basics
- Place coffee essentials such as creamer, stirrer, spoons, coffee, and mugs in the tile tray to neatly organize the morning coffee corner
- Organize your drawers as cutlery tray
- An accent tray for entryway on the console table
- Use to keep remote controller as a wooden tv tray
- Small wooden tray to keep wallet and keys at the entrance
- You can also make a large wooden tray with tiles to create an indoor plant stand
- Use it as a wooden serving platter. Here are some food bar ideas
- Make a keyboard tray or a wooden lap desk
- You can easily revamp a wooden tray table with some paint and adhesive tiles as well
- Make your gift unique by displaying it in a wooden tray
- Use it as a spa bamboo tray displaying essential oils and bath salts
- As a breakfast wooden tray with assorted tea
- Wooden decorative tray for ottoman
- Make a DIY bathtub tray or a double vanity tray
- Turn an unfinished wooden tray into wooden bed tray with this craft
Simple tile tray crafts
Don’t you just love simple and beautiful home projects! If you like it please share it and leave me a comment!
I would love some motivation and appreciation! Till next time take very good care of yourself and live a creative life! Here’s a few more pictures that are equally beautiful tray displays!
Do you prefer video tutorials instead? Come follow me on instagram where I share video reels of the craft tutorials as well.
You may also like:
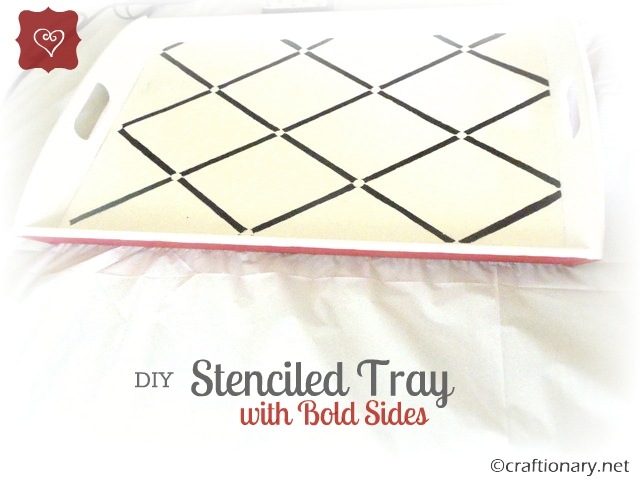
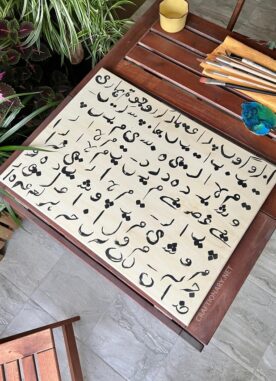
How to stencil a decorative tray (DIY Tutorial)